
Well, they are really valances I guess. I hear that valances are out of style in home decor these days, but when it comes to something so costly and time consuming to change as homes I say if you still like it who cares.
I told my mom I made them and she said, "hem and pocket?" Yep that's just what I did, but if you are a novice or don't speak "my mom" here is a quick how to:

I bought a satiny material a few months ago that has a nice texture on one side and a shiny back side. When I started I kinda forgot that it was satiny and kicked myself when I started working. This isn't the easiest to work with, and I try to avoid it when I don't NEED to use satin, but oh well.

The first thing I did was to cut the fabric into strips that were 20 inches wide. I bought 2 yards. of this fabric, and my big window is about 2 yards across so I needed 4 yards of 20 in wide fabric to make my valance scrunchy. My 20in measurement across was completely arbitrary, it just worked out with what I had, which cut three 2 yard strips, and I needed two more yards for another smaller window in the room, so it seemed perfect. Like my math?

The first thing I did was iron out all the strips, then sew two together for the big window. I pressed the seam just to be sure.

Then I went to the edges and pined them down, steamed them closed, as satin hems can be tricky, and used a baste stitch on the machine.
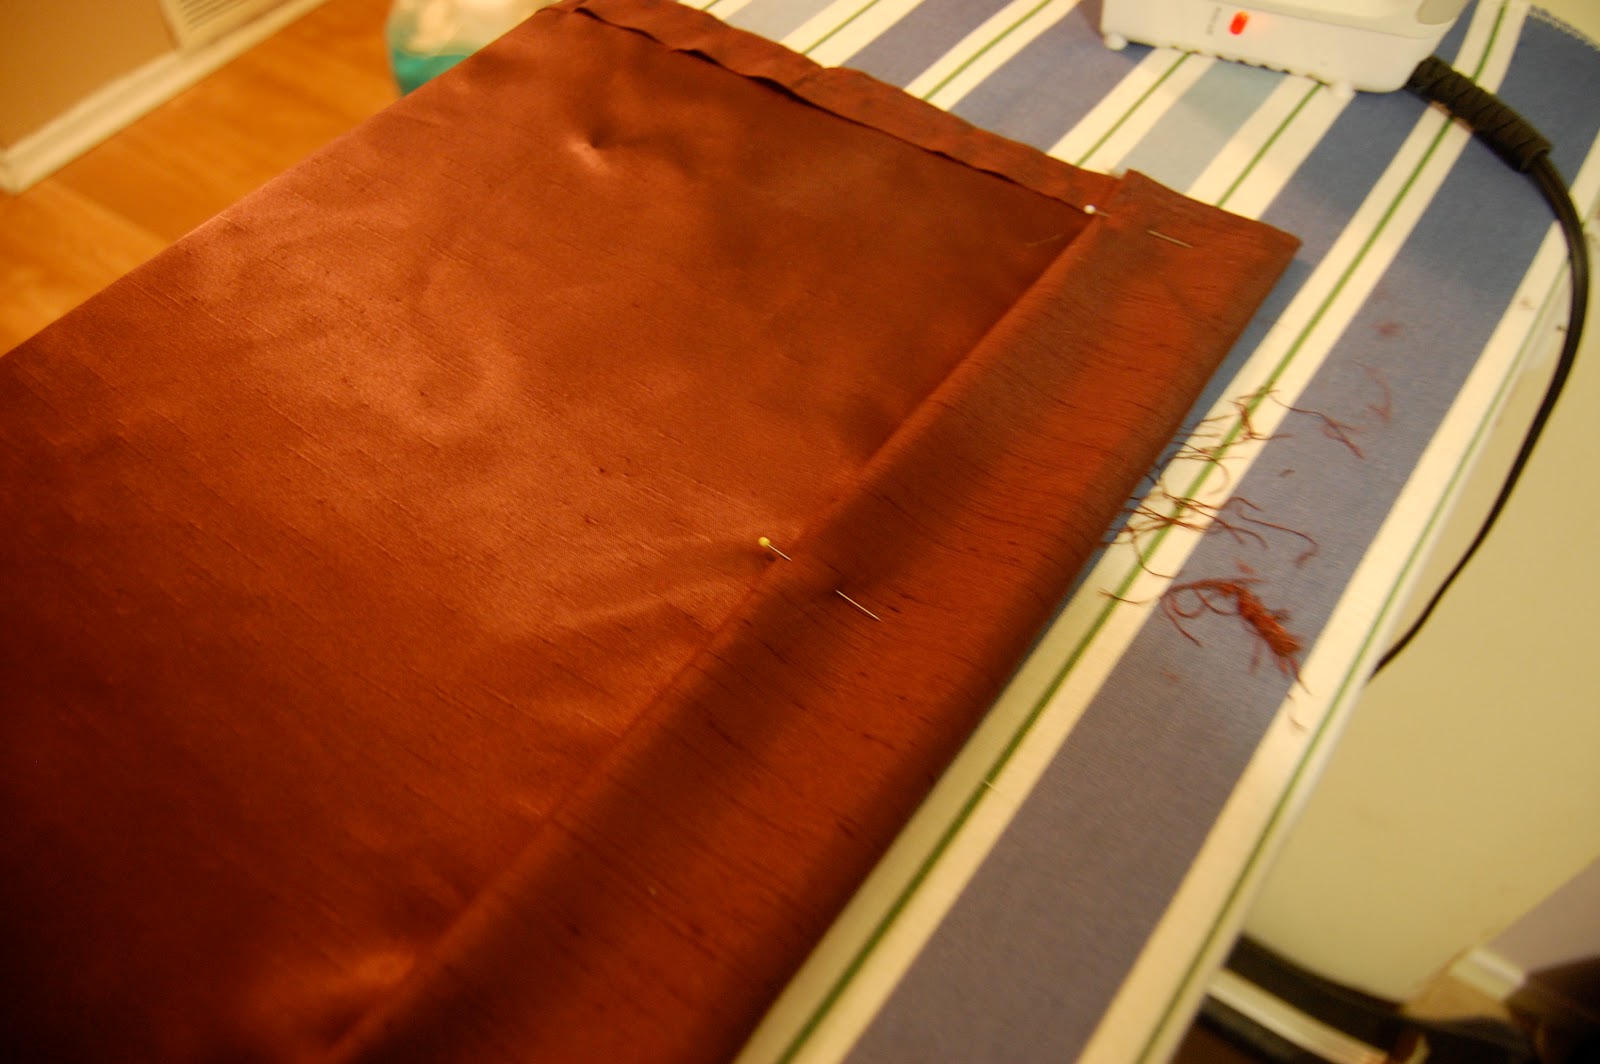
Now time for the "pocket" which is basically a large hem. I think I folded it over so the pocket was 2 1/2 inches wide. I tucked in the fraying end to make it look nice. Yes, I would normally have done that for the hem on the edge too, but the satin was being too finicky.

Pin and iron all the way down the 4 yards of fabric.

Now sew with a baste stitch. I like to bunch my long fabric up like this so I have more control. (Don't ask about all the glue guns.) Make sure you leave the ends open so that you can slip the rod into the pocket.

Now for the last bottom hem. For this it really would be wise to tuck in the frayed edges. I spent 2 days when I finished cutting frays that came loose off of the valance. But alas, I got caught in the "I'm almost finished" rush and cut some corners. Luckily no one will be inspecting my work.

Here it is in natural light. I put them on some white rods. So sorry I didn't take pictures of how to slip them in the pocket, but I bet you can figure it out. I'm sure you can use any kind. I was lucky that there were brackets stuck in the wall when we moved in, and I recognized them as the kind that support the white rods that my mom just replaced in her house. Rather then taking them out and buying new rods and having to re-level I just used the leveling some unknown person did once, and dug two rods out of the trash at her house.
I think these look really nice, despite that my Realtor aunt says that they are outdated. They add some warmth to the room. If I were the kind of person that kept track of the cost of projects then I would say this was about $20.00 since I just had to buy the fabric. But it may have been less then that.
Until next time.
No comments:
Post a Comment